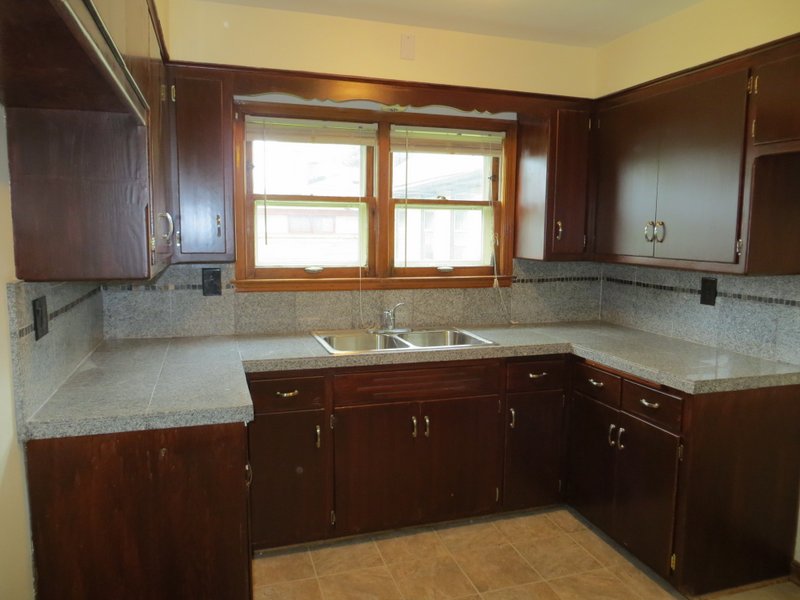
And the final kitchen. It lured just the kind of tenant I wanted. Goes great with her stainless-steel appliances. If you look closely, you can see that the backsplash looks "thick" from where we covered up the old brick backsplash. It actually looks pretty classy.